Showing posts with label free pattern. Show all posts

Wednesday, February 19, 2020

Quilts Beyond Borders finishes


Happy Wednesday! Today's finishes were all made for Quilts Beyond Borders (QBB,) which provides quilts to children in need all over the world.
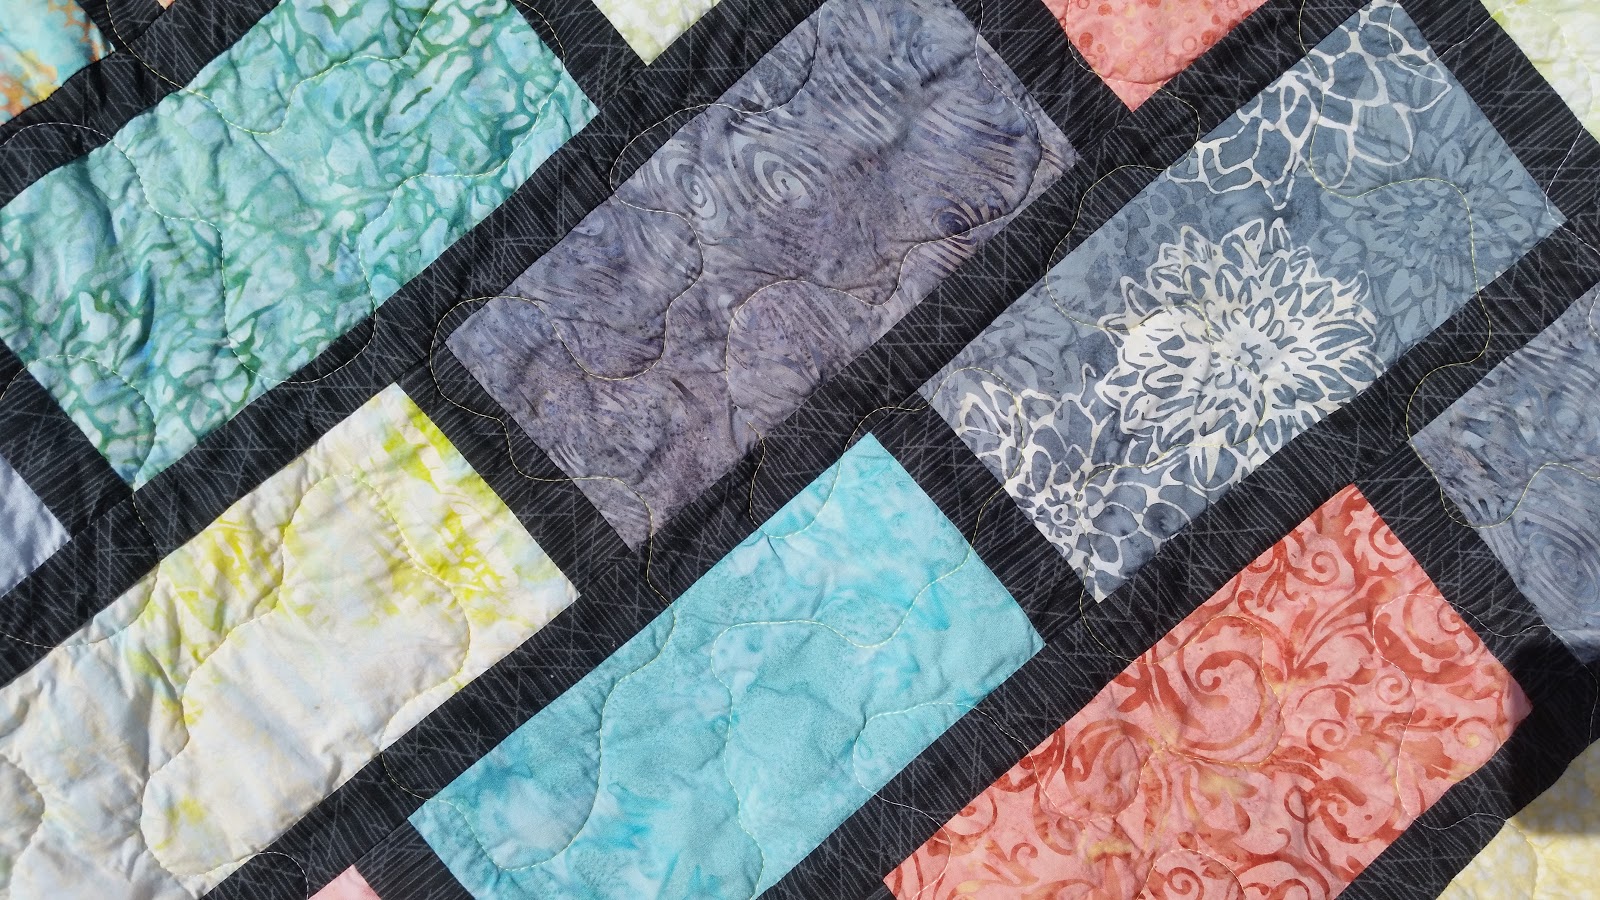

This one was made with a batik layer cake, using a free pattern called Cobblestone Street by Robert Kaufman. The layer cake was called "Cockatiel" and the colors really do look like the pretty little birds! 


Usually the quilts for QBB are fairly small, around 40"x60". I heard via my online quilt guild, Sunshine, that one of the QBB regions was collecting slightly larger quilts for teens in a shelter near Baltimore. So I stitched up a few closer in size to 50"x60".


I had a big chunk of this antique airplane fabric that I used on the back. Maybe some future pilot will enjoy it.


Don't stare at this pattern for very long! It will make your eyes cross! This quilt is also a bit larger, and features this kinda crazy double hourglass block in blues and grays. Even though it is busy, I like the strong geometric movement of the design. It is a free pattern from Mary Quilts called Spools.


The back features pale blue stars and a jumble of railroad motifs. The quilting on both these teen-sized pieces is a simple, soft stipple for maximum cuddliness.


QBB requires a sewn-in label, and I try to piece it right into the backing. This one I added later, in the bottom left corner. I cut it using pinking shears so it will hopefully only fray a little.
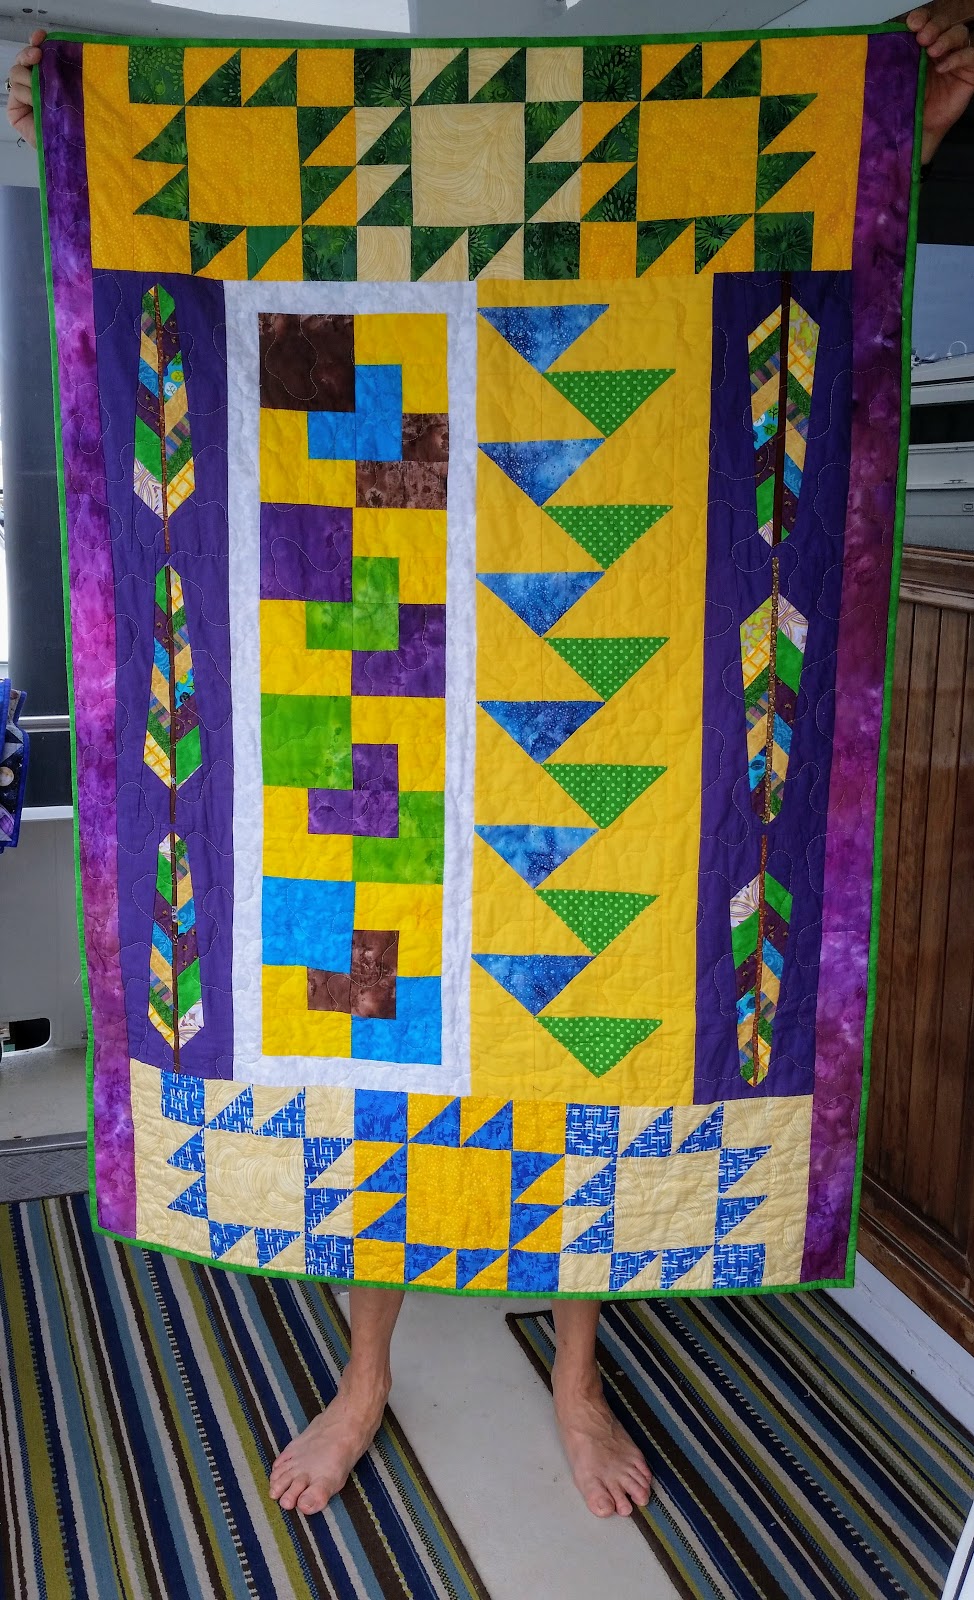

The third quilt is the standard size for QBB. It is a Round Robin quilt made by 3 or 4 of my guild members. The first person, our resident Quiltin' Harley Dude, Spoon, made the column of interlocking squares, then sent that to the next Robiner in line. 


When it came to my turn, I added these scrappy feathers, made from a pattern called Feather Bed by Anna Marie Horner. It looks like she's selling it now, but it was free when I downloaded it.


Usually the person who starts the Round Robin finishes the quilt, but I knew Spoon was really busy. So I offered to sandwich, quilt and bind this piece. Spoon sent me some backing material, but I stole it for a different quilt and used these chunks from my stash instead. Many thanks to my guild friends for adding their creativity to this quilt!

Tuesday, December 19, 2017

Scrappy Christmas flimsy


We are in St. Petersburg, FL where several of our friends live. We're only here for about a week, so it's been a whirlwind of social visits and fun events. In quiet moments I was able to piece up this Christmas quilt top.

After I finished my tree skirt flimsy last week, I realized I had a lot of holiday-themed scraps. Most were already cut into 2.5" wide strips, so I went looking for a pattern to use them. 


This is a nice freebie from P&B Textiles, called Illustrations. Click here for the free pattern. I liked the offset barn raising layout and how the black and green little squares alternated. On my quilt, I used scrappy black and red for the small squares, and separated my strips into darks and lights. 


Almost all my holiday scraps are fairly dark reds and greens, and I'm happy to say that I was only short about 5 or 6 strips for the entire quilt! I pulled a few greens from my regular scraps and I was all set. My Christmas scraps are completely used up, wahoo!! The lights were the entirely opposite story, though. There might be only 6 light strips that are "holiday" themed (mostly snowflakes) and I had to fill in the entire rest of the quilt from my regular off white and cream scraps. 

I won't get this finished into a quilt this year, but really enjoyed working with all the pretty Christmas fabrics: poinsettias, holly, ornaments, etc. And since all my scraps are now used up and I can shop guilt-free for more holiday fabric in April when it's all on sale. I've learned my lesson, though, and will make sure to also buy plenty of coordinating light shades.


This pattern was a keeper, too. I'm sorry I didn't take photos until the top was finished, but here's a cropped photo showing an individual block. Every block has the identical layout so it's a fast chain piecer for sure. The 12" finished block uses all 2.5" strips and each block ends up half light and half dark, like a pixelated HST. So the blocks can be put together into all the same larger patterns as any HST, not just barn raising. 

Linking up with Oh, Scrap!

Monday, December 11, 2017

Yet another cat quilt finish


Huh. I could have sworn I blogged about this quilt when it was just a flimsy, but I guess I never did. Well, here it is all finished, ta da! The (free!) pattern is "Pins and Paws" from the Missouri Star Quilt Co., a simple block of kitty silhouettes. I'm calling it Pins and Paws and Plenty of Purple.


The border fabric set the color scheme of blues, greens, yellows and purples. 


I quilted it with a feather and swirl motif, using 40 wt yellow thread. Many of the feathers are quite wonky, and of course the wonkiest ones ended up on the dark, contrasting fabrics. Oh well, it was good practice.


The later feathers were smoother as I found a rhythm that worked for my hands. I've been really frustrated by feathers until I gave myself permission to let the lobes be separated and not touching each other. Those "bump back" feathers just don't flow for me!


The backing is yet another piece of the yellow plaid, which hides the yellow thread but lets the texture show. This will be a donation quilt for Project Linus.


Angel says feathers are for the birds. She sitting between my two Christmas pillows, and on top of a small Christmas lap quilt that you can't see.


And speaking of Christmas, I pieced this tree skirt flimsy from largish-sized holiday-themed scraps. The (free!) pattern is "Fruitcake Under My Tree" from the Moda Bakeshop. The kind of tree that needs a skirt won't work on our boat, so this will be gift. For someone. But probably not this year. All the smaller scraps from this and other Christmas sewing started whispering my name, so I dropped everything else and have been piecing up a different (free!) pattern using those. More on that later.

Monday, October 23, 2017

Bricks and stones


I'm piece piece piecing away here. A couple days ago I finished this relatively fast flimsy. It's a free pattern from Timeless Treasures called "Marvelous Maze" by Osie Lebowitz and is part of their Broome Street Patterns collection.

There are lots of free patterns put out by the fabric manufacturers, which makes sense. It's in their best interests to make it look fun and easy to use their fabrics and nothing shows off a new line like seeing the designs working together in a quilt. At least that's the theory. Very few of the free patterns appeal to my eye, so when one does, I download it and save it for later. Since the patterns feature a particular fabric line, the older ones tend to disappear. If you can't find one that I've used, feel free to ask me for a PDF copy. Passing it along to another quilter for personal use doesn't violate the usage agreement on most of them.


Back to this one, which I've named Bricks and Stones. All the fabrics are prints of bricks and stones, except one that I think it supposed to be leather but looks quite a bit like stones to me. The blocks are really simple, just a square with the accent color sashed at a 45 degree angle across opposite corners. They can then be laid out in a wide variety of settings, including kind of randomly which then looks a bit like a maze. I kept thinking about wandering through Home Depot's outdoor paving section while I pieced this.

I did a quick layout on the design bed, mostly to get the lights and darks scattered nicely across the quilt. I then carefully stacked each row and column and carried them upstairs to sew. After stitching all the pairs and taking them to the ironing board, I discovered that my matching of all those sharply contrasting black accent angles was, um, really lousy. And then I discovered that these fabric, which were someone else's scraps bought on eBay, were really el cheapo low quality fabrics that stitched fine, but whined and complained when I ripped a bunch of seams out. Oh, wait, maybe that was me whining and complaining. And squinting since I used black thread on black fabric. Ugh.

Somewhere in all the ripping and whining, I lost track of my initial design layout since the rows weren't labeled. Eh, it was fairly random anyway, so I soldiered on. When I got the finished flimsy hanging up for a few photos, I realized that my lights were a bit clumped together, but decided I could live with that.

Then, I noticed that my random placement resulted in a giant swastika in the middle of the quilt. ARGH!! Once seen, it couldn't be unseen! No, I didn't take a photo. Fortunately, I realized that I only had to rotate a single block 90 degrees to fix that, although (of course) that single block was right in the middle. And that single block was (of course) the el cheapiest of el cheapo fabrics that practically shredded under the seam ripper. But I got that sucker ripped out and turned and all's well that ends well.


I certainly learned my lesson about keeping better track of my rows and columns! So the project I'm working on now, the strippy scrappy rainbow blocks, was handled differently. I put pins in the first block of each row: one pin for row one, two pins for row two, etc. I was so proud of myself until I sewed row two to row three...yes, that's one of row three's pin heads sewn right into the seam. The Juki punched through the plastic flower head pin like it was butter and didn't even hesitate. Oof.


Fortunately, the stitch length was short enough that it basically perforated the pin head so I was able to pull it out of the seam easily. Now I'm looking for other ideas for marking rows and columns. What method do you use?