It's a gloomy, overcast day here in our New Orleans boatyard digs. However, the wind isn't blowing so I was able to pin up my latest quilty projects for some photos. From left to right: Gulf Coast Churn Dash after washing and drying; Hobe Horses; an as yet to be named chicken-themed flimsy; Winter Magic; and 3-D Play Mat.
Hobe Horses is my Hands2Help quilt for Camp Hobe, a charity sponsored by
StashBox. Camp Hobe is for kids with cancer and their siblings, a place with all the fun and activities of summer camp that also provides necessary medical support. While the H2H challenge is over, Sarah let us know that quilts sent in after the deadline are still welcome!
This horse-themed quilt is simple patchwork with sashing and cornerstones to let the big focal pieces take center stage. It took me a while to accumulate enough horse fabric to make an entire quilt. Apparently, horses are fairly difficult to draw, because there is a LOT of really ugly, anatomically incorrect horse flesh out there in the fabric world.
I quilted Hobe Horses in simple, horizontal wavy lines, like wind through the horses manes. The backing is an odd olive green leaf print that actually works well with the browns and greens on the front. I hope an equine-crazy kid enjoys all the different horsey goodness on the front.
Next up is this finished quilt top featuring chicken fabrics. I really liked how the hourglass blocks in Gulf Coast Churn Dash set off the chunky churns, so I decided to do some more experimenting. This time, I used three color hourglasses to outline small square focal pieces cut from a panel.
Each panel square features a different chicken inside a wood frame, surrounded by black. The chickens have funny names ("Remedios"?) and light blue backgrounds. Half of the panel blocks end up surrounded by the yellow parts of the hourglasses. The yellow has little chicks hatching out of eggs.
The rest of the big chickens ("Blakey"? Who names a chicken "Blakey"?) are surrounded by red fabric with tiny drumsticks. Is this fate? Is Blakey destined to end up at KFC?
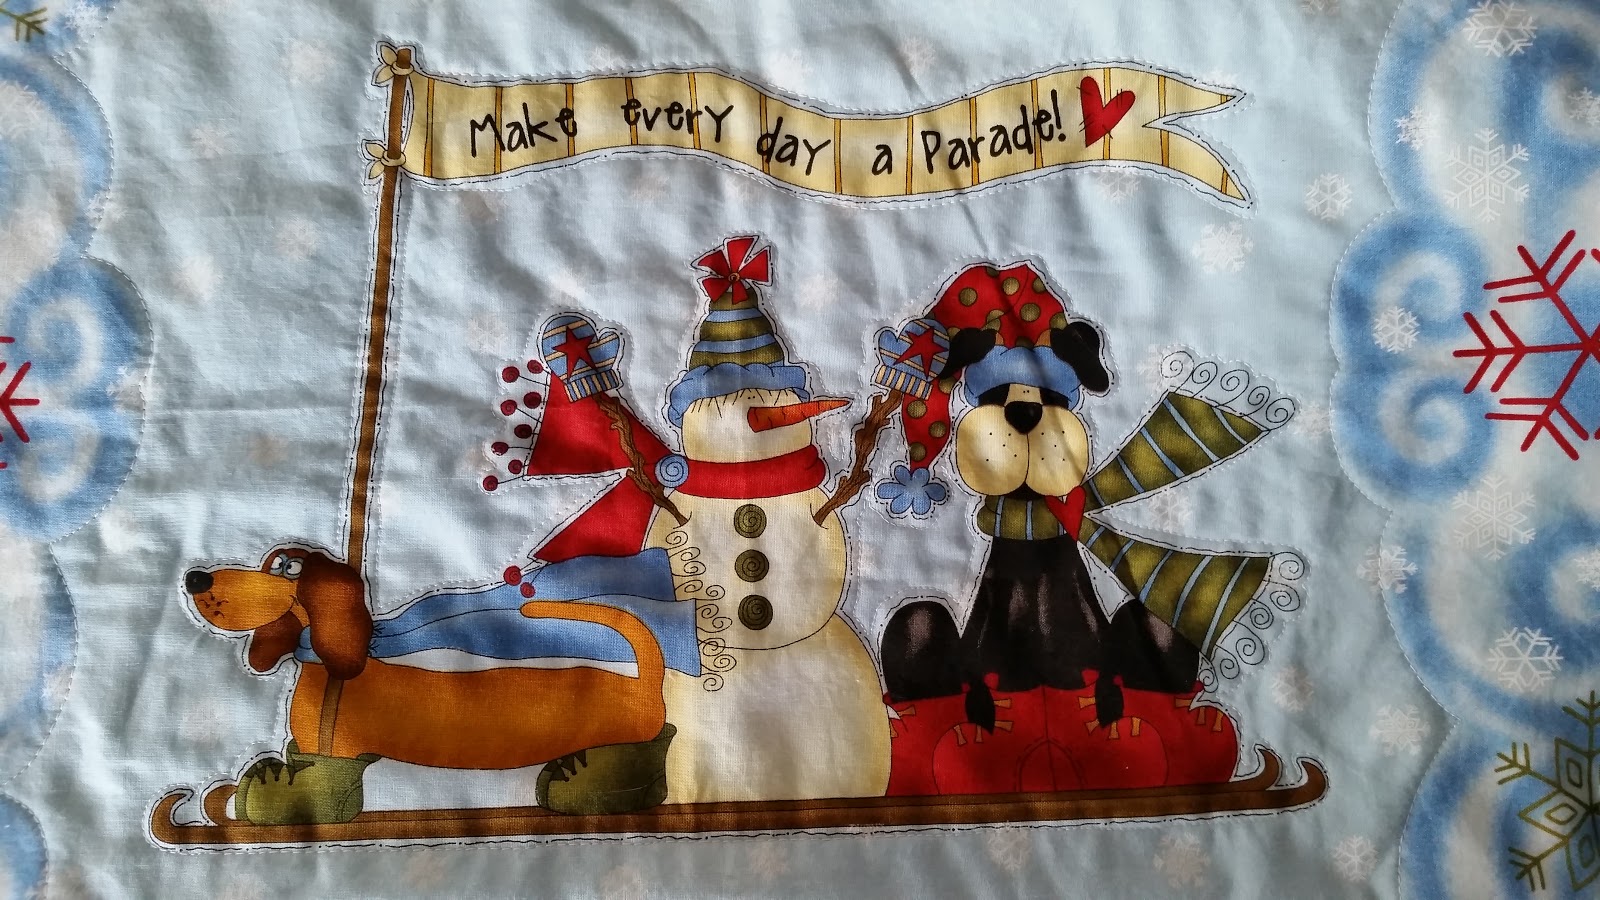
Winter Magic is made from another panel, and features dogs and snowmen. It isn't specifically a Christmas panel, although one of the dogs seems to be wearing reindeer antlers. The flags say, "Wishing you the blessings of magic on this crisp winter day!" "Make every day a parade!" and "Let it snow, let it snow, let it snow!" The panel was only 24" wide, so I added side pieces to bring the whole thing to about 36" x 42", a good size baby or toddler quilt.
The backing is this snowflake patterned fine-wale corduroy, which makes it fairly heavy and warm. I decided that putting a layer of batting in would make the whole thing a bit TOO thick and warm, so I used a layer of flannel instead. It is finished pillowcase style with no binding.
To keep it soft and drapey, I did minimal quilting. The printed panel has a thin line of black around the characters, and that sort of looked like stitching to me. So I echoed around that line with white thread so the whimsical scenes would poof out a bit. I also outlined the swirling snow border to keep the little quilt lightly but evenly quilted. I did have grand plans to do lots of FMQ swirling motifs, but after I stitched up an area about 5"x 5", it was clear that the whole quilt would be much too stiff that way, so rip rip rip, out it came.
3-D Play Mat is a scrappy experiment that started when the Covered in Love block drive featured a pleated, textured block. I had so much fun making that block that I went looking for other three dimensional tutorials. That led me to
Teresa Down Under's Sewn Up blog and her
series of textured 4-patches.
Someone wise suggested using coordinating colors when sewing up sample blocks, so I chose cream, turquoise, red and pink fabrics.

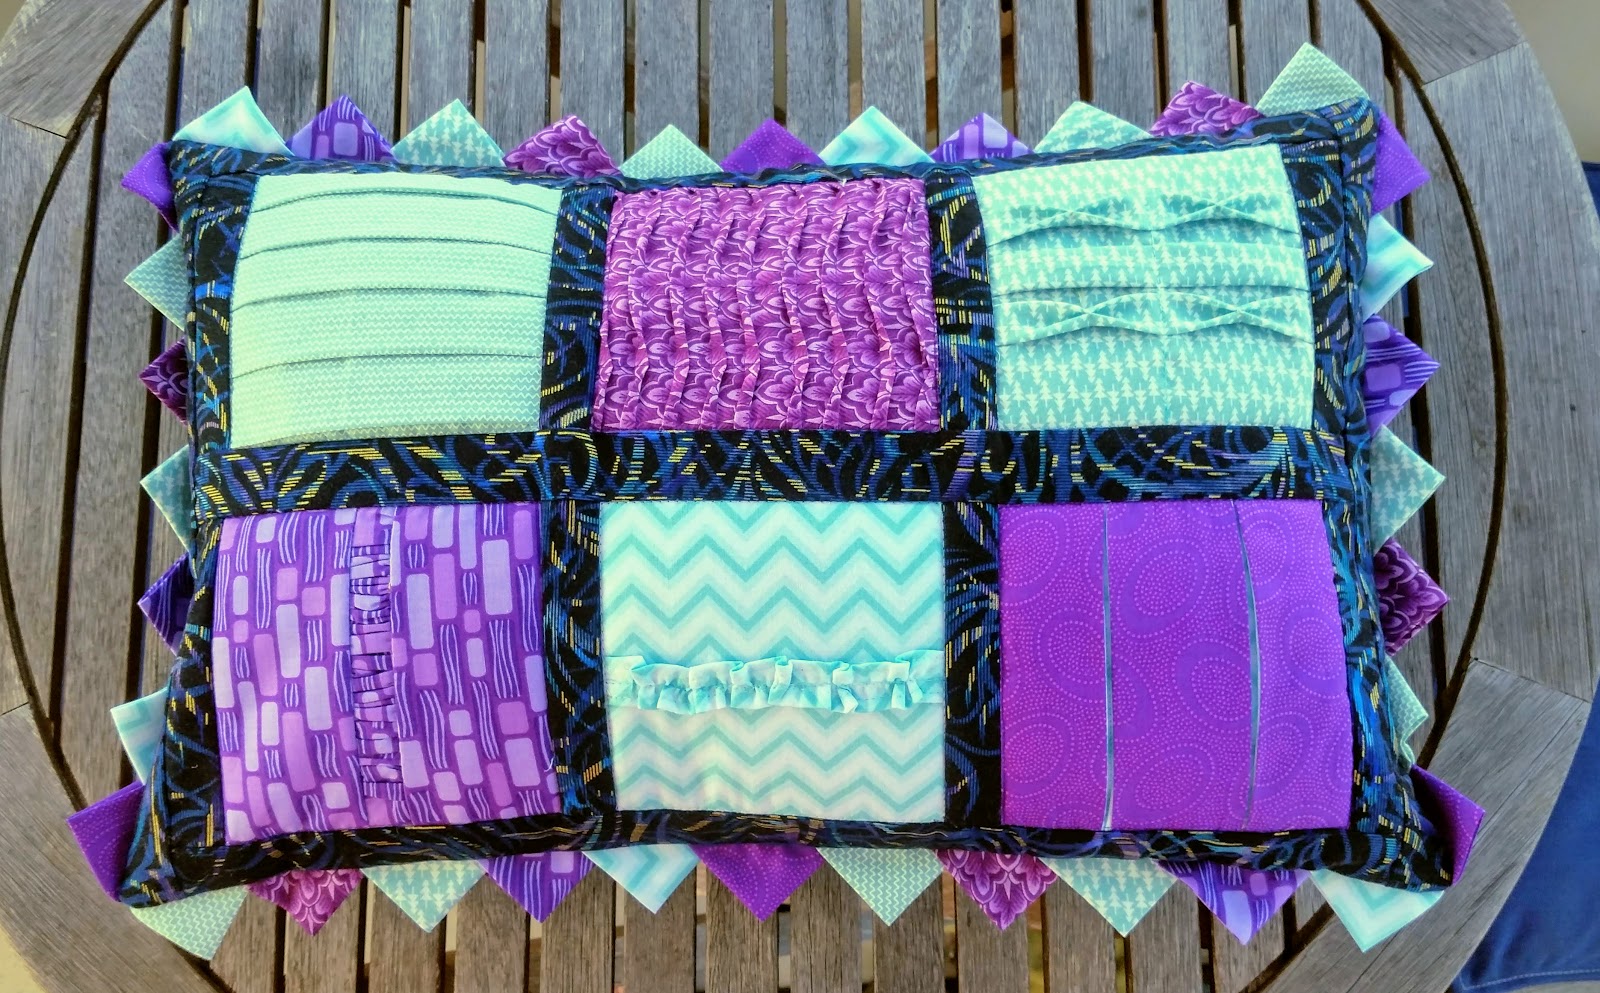
The first block I made riffed on Kat's pleated block, which she called
Grandad's Shirts. This isn't the same block, but used the same pleat technique.
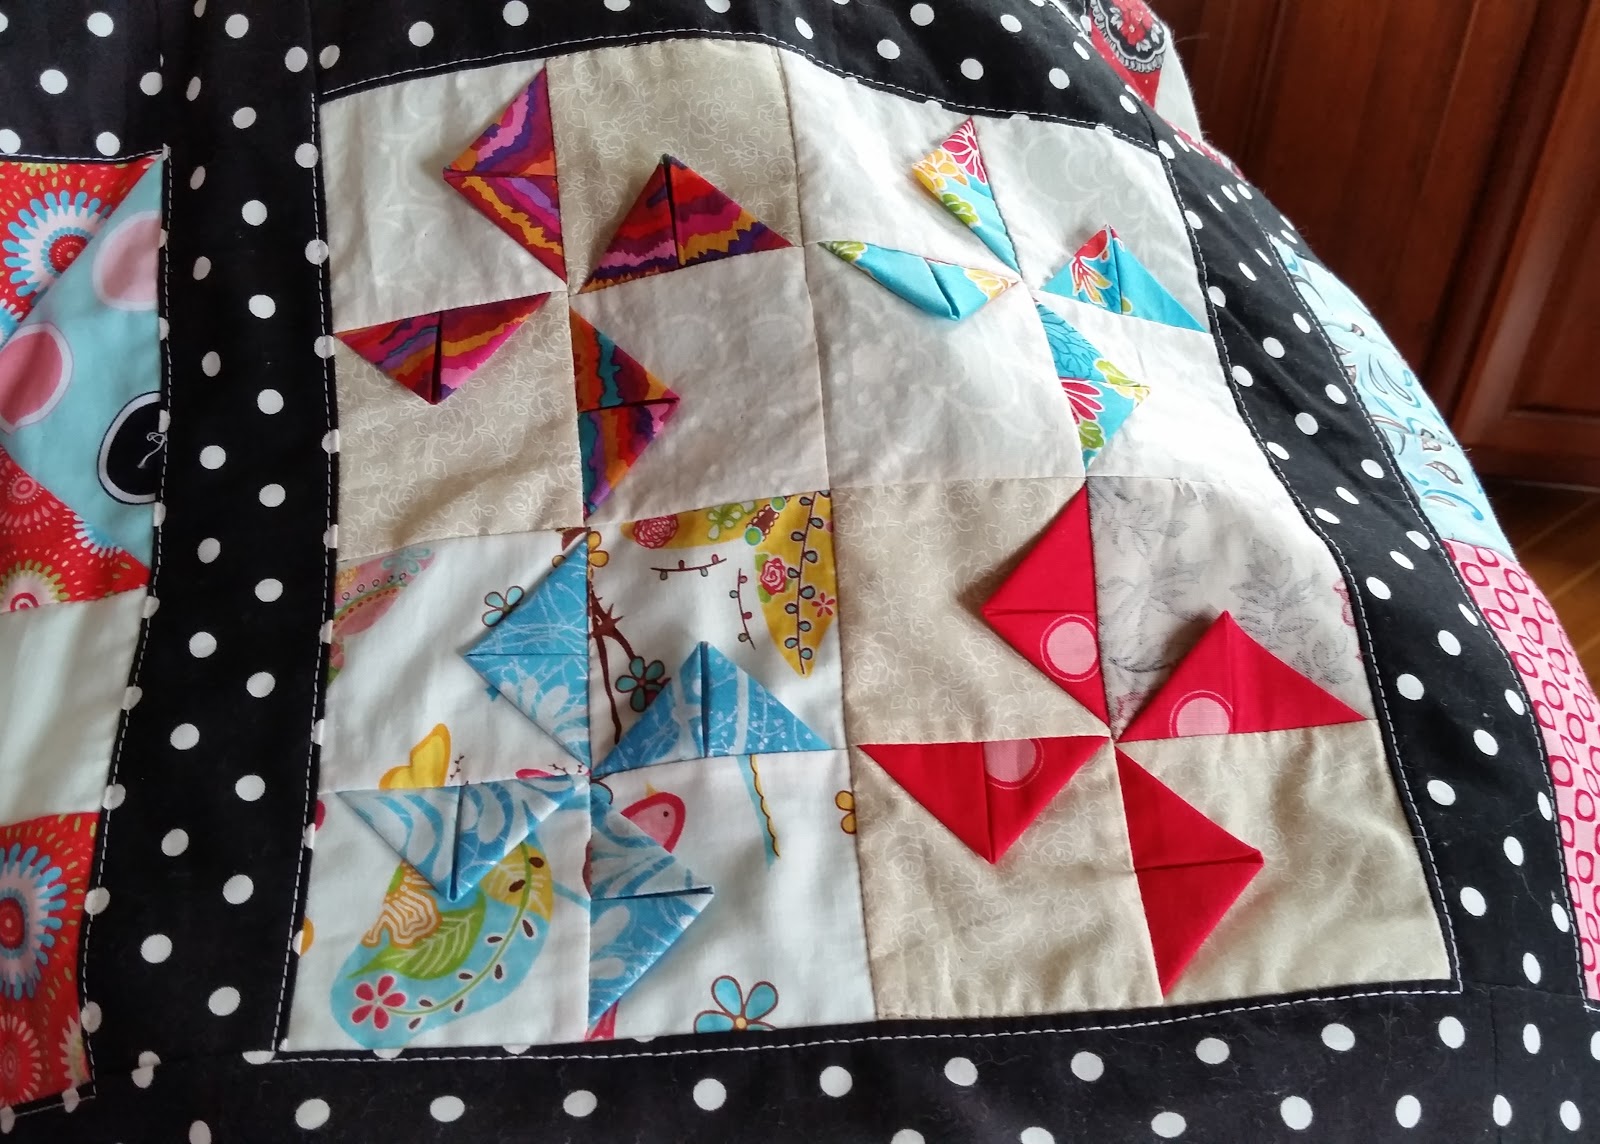
After that, I dove into Teresa's blocks. I tried Prairie Point Pinwheels,
Origami pinwheel (which is quite thick),
and several bias edge manipulation blocks including this fussy cut bird and several flying geese. Teresa's tutorials also include a large number of smocking, ruffles and elaborate pin tucks that looked really hard. But now that I've finished this little sampler, I think I might try my hand at one or two of them.
The blocks are sashed with a bold black and white polka dot and the backing is a dark red dot on white corduroy. The overall size is 39" x 39". Like Winter Magic, I used flannel instead of batting and a no-binding finish. I kept the quilting very minimal, just enough to hold things in place. I thought the soft but busy 3-D blocks would be fun for a baby to explore while having "tummy time," so I think of this as a floor mat rather than a blanket.

Linking up with
Oh, Scrap! and
Scraptastic Tuesday this week.